How to use custom HTML email templates with EmailOctopus

The following is a guest post by Thomas Evans from EmailOctopus.
Just downloaded your email templates from HTMLEmail.io? Looking for a way to get them into your customers’ inboxes? EmailOctopus can help.
EmailOctopus is a simple-to-use email marketing platform which sends your emails at a vastly reduced rate.
By focussing on the core features of email marketing, such as automation, template management and open/click analytics, EmailOctopus can save you up to 75% on your email marketing – without sacrificing customer service, or deliverability.
This walkthrough will help you get set up and sending emails in minutes.
Import Your HTML Email Template Into EmailOctopus
Adding your new templates into EmailOctopus is simple – it just takes three steps:
-
Copy all the HTML from the inline version of the HTML email you want to add into EmailOctopus. You can do this by opening it in Notepad or your Text Editor of choice and copying all the content.
-
In your EmailOctopus dashboard, visit the Templates section.
-
Click Create – when you get to the WYSWIG editor, select the Code View option.

- Paste all the HTML into the code view, replacing any content already there.
Adding personalisation to your template
EmailOctopus allows you to add and store up to ten custom attributes against a contact. Things like first name, address or date of birth are regularly stored here. These attributes can be added to your templates.
-
Ensure your custom fields are set up and you have data against your contacts. To add a new custom field to a list, just visit the List page and then click Fields.
-
With the fields created, you can now use these in your templates with the use of Merge Tags. Merge tags are used to personalise the campaign.
-
Switch your email into edit view by clicking the same button you used for code view. Move your mouse cursor to where you want to add your personalisation and then click the merge tags button on the right.

- Select the merge tag you want to add and voila – done! If you’re comfortable with code, you can also use merge tags in code view. They’re formatted like this:
Hi {{FirstName}}
- You’ll need to make sure you’ve added an UnsubscribeURL to your email, and a RewardsURL if you’re on a free plan. Now’s a good time to do it, as it will save you time in the campaign set up.
Using your template in an EmailOctopus campaign
-
With your template created and personalisation added, you’re ready to start sending. Simply visit the Campaign screen and hit Create. Name your campaign as required and set your subject line 🔥🔥🔥.
-
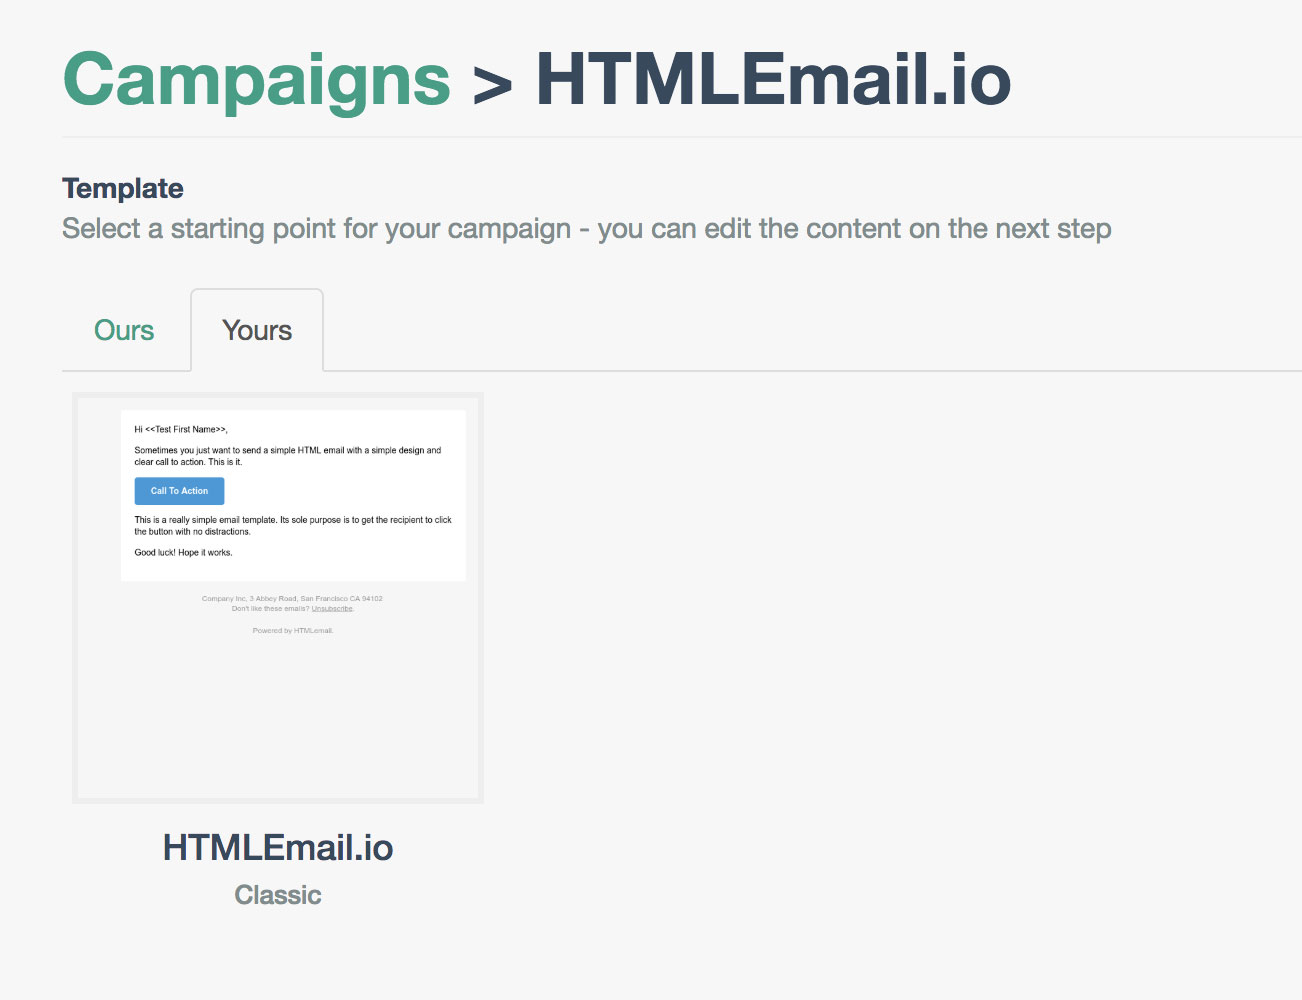
Once your subject line and campaign settings have been updated, you’ll be taken to a Templates screen where you can select one of EmailOctopus’s templates, or one you created earlier. Select Yours to find the template you created earlier.

- You’ll now see the same editor from the earlier steps. Using this editor, you can update text, images and add additional merge tags if required. (Make sure you send a test or two before moving on, as this is the final step!)

- You’re now on the final screen before sending. Here’s a good point to check that everything’s correct, ensuring you’re sending to the correct List, and that you’re happy with the subject line. Once you’re ready, hit Send – and your beautiful email will be on its way to your subscribers.

50% Off EmailOctopus for 3 months
HTML Email readers receive 50% off EmailOctopus prices for the first 3 months when you use code HTMLEMAIL.
Click here to view pricing and take advantage of this offer.
We’re always on hand if you need any help. Feel free to reach out to us on support@emailoctopus.com or on Twitter using @emailoctopus
Receive email design content like this to your inbox.
No spam. Just related email content.