How to use custom HTML email templates with Intercom

Congratulations! You’ve just downloaded your set of responsive HTML email templates and are ready to start sending professional looking emails from your ESP (Email Service Provider). Now you need to put them into Intercom so you can use them.
Intercom is a great solution for communicating with users and includes features for sending onboarding campaigns, 3rd party integrations, segmentation, automation and a powerful developer API.
With Intercom you can add a custom email template to use for all your emails.
How to use custom email templates for Intercom messaging
- Open your Intercom dashboard
- Go to
App Settings>Email Templates - Create a new template and give it a memorable name
- Copy the code across from the inlined email template you want to use
- Update the content to include Intercom tags
- Add
data-premailer="ignore"to media queries - Update button styles
- Remove preheader text
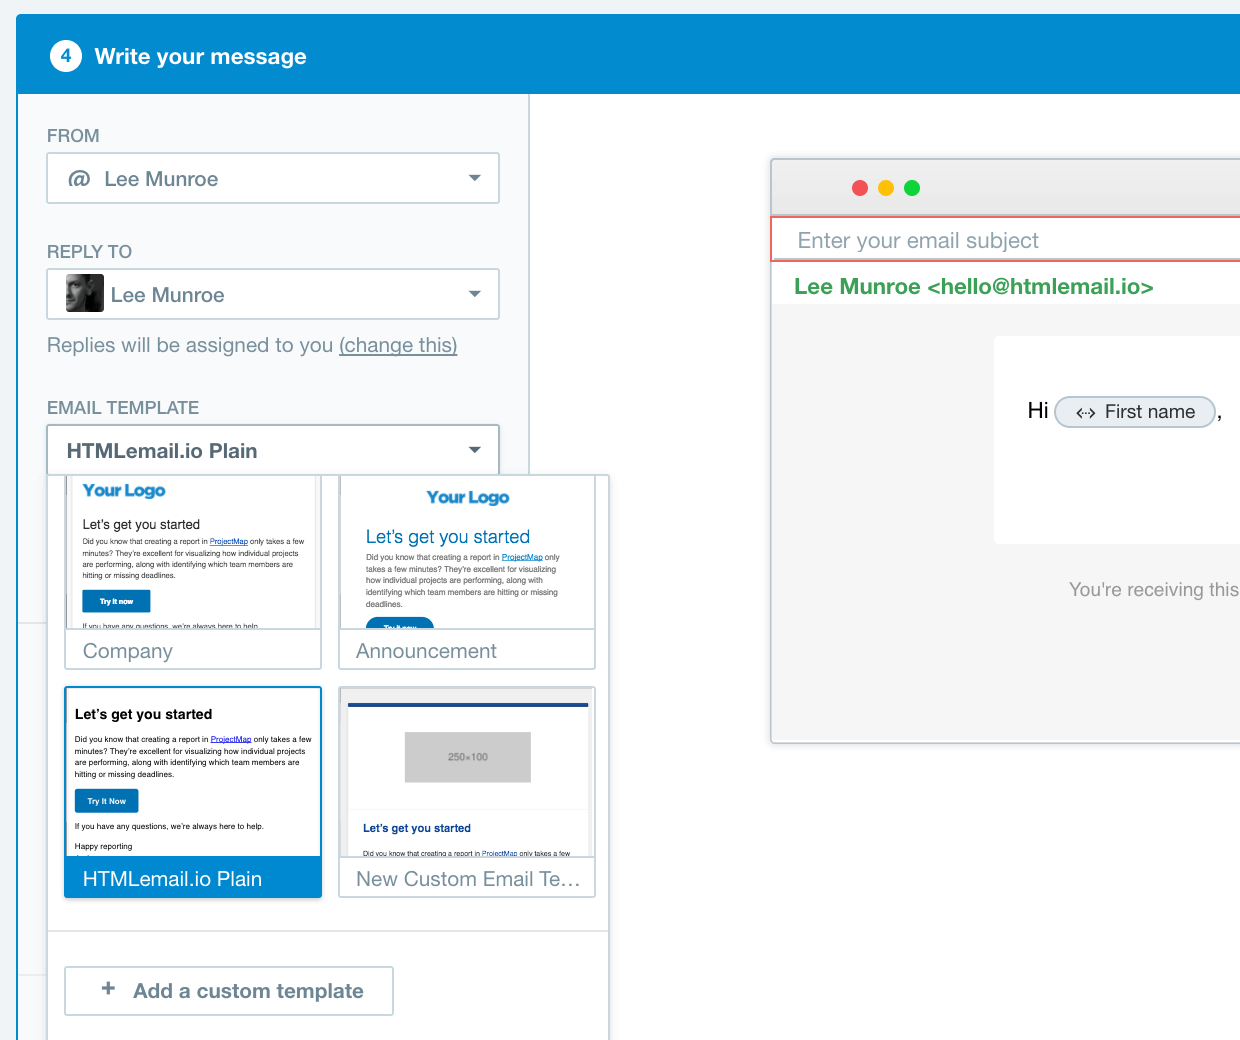
- Select this template when setting up messages
Lets look at some of these in more detail.
Copy the code across
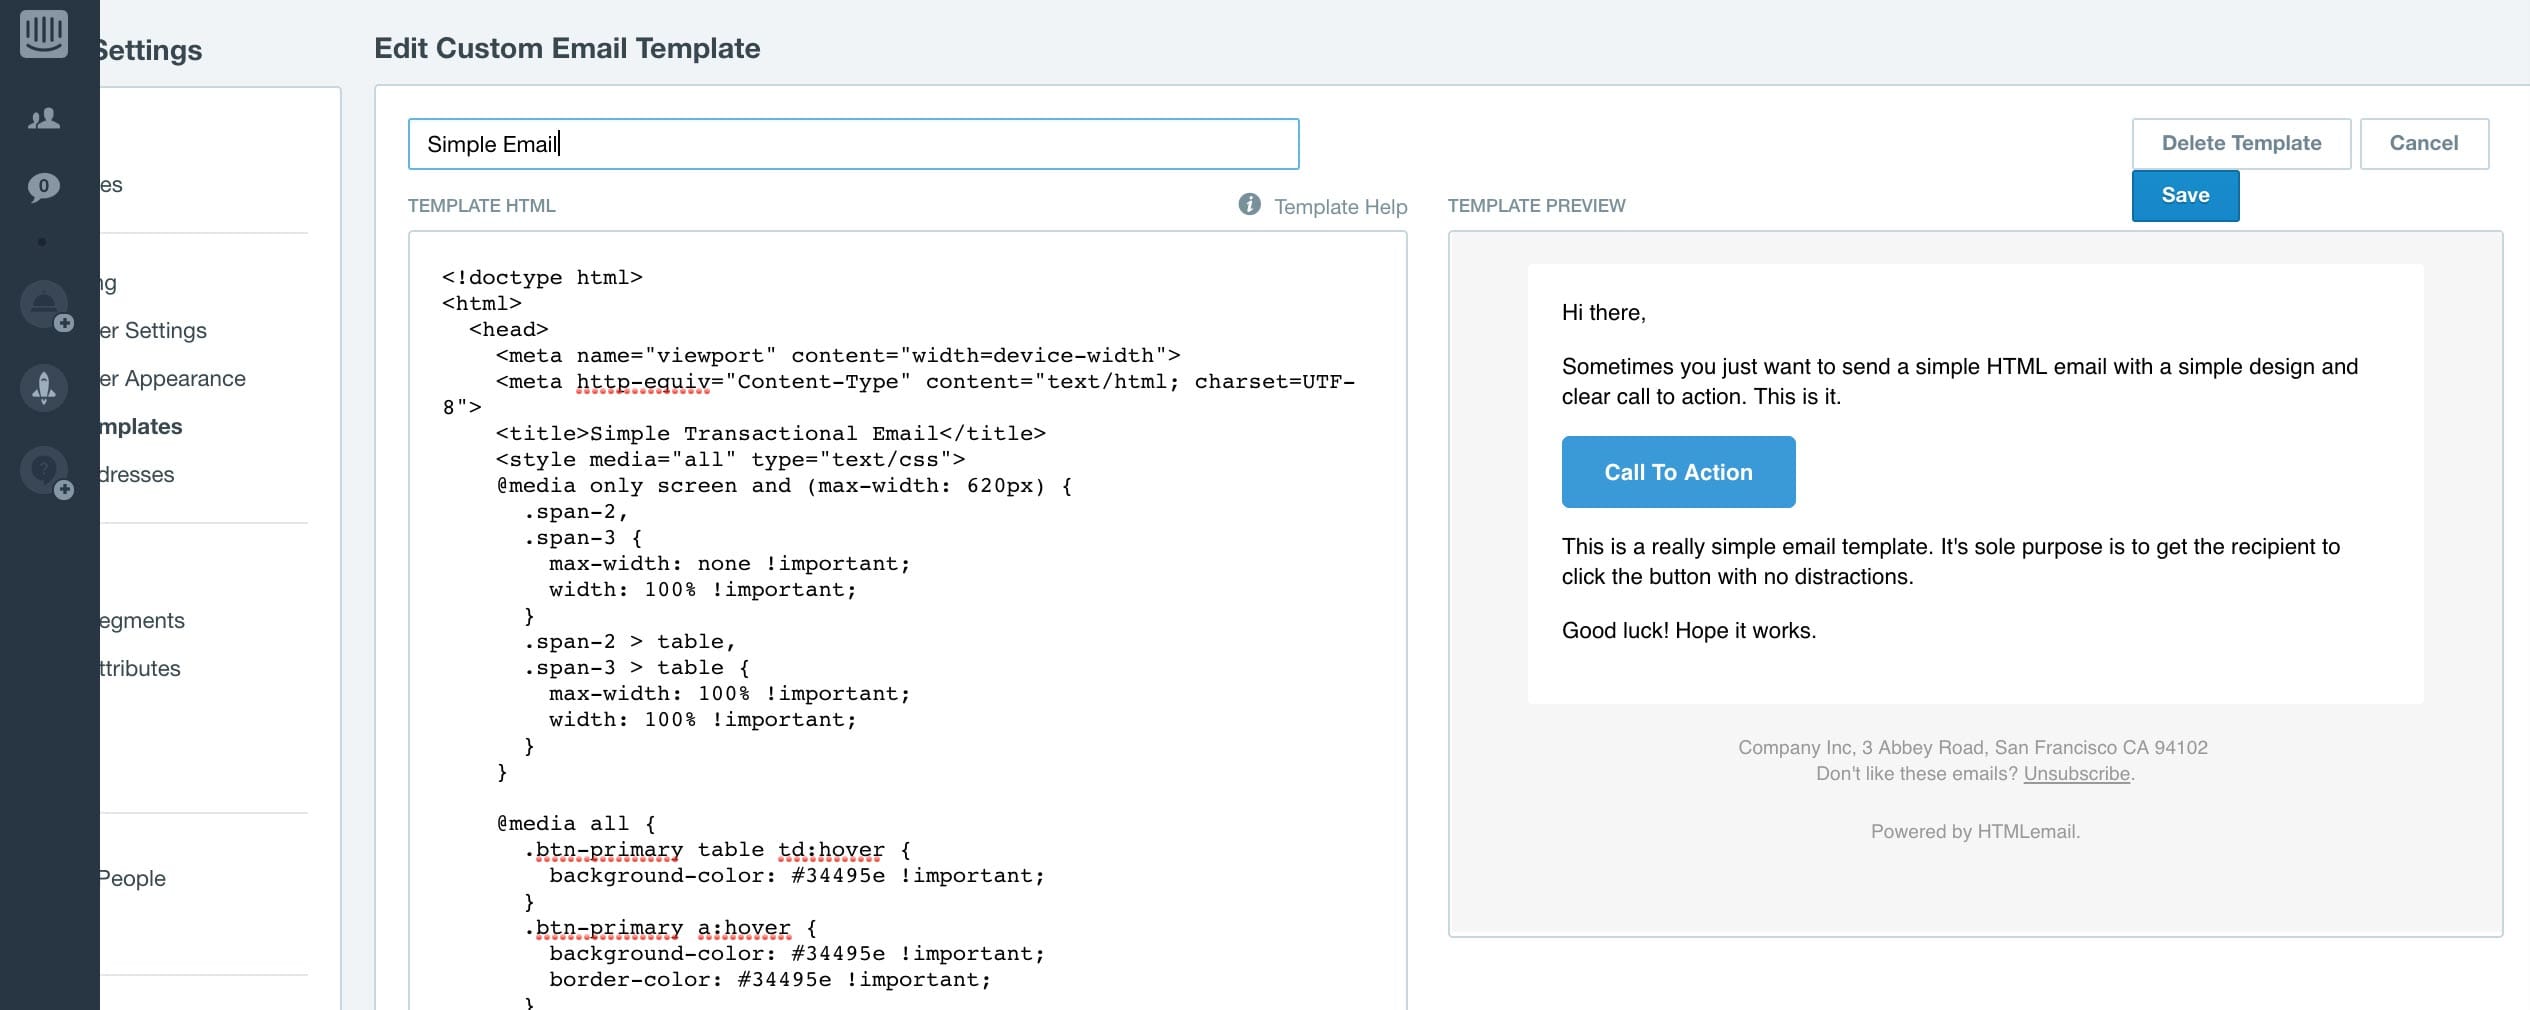
Open your email template in your editor of choice so you can see the code. Select all, copy, then paste into Intercom. Here I’ve copied across the plain inlined email code.

Update the content to include Intercom tags
So that you can use this template, Intercom needs to know what parts are editable, and where things like unsubscribe links should go.
Replace the current content with the {{ content }} tag like so:
<!-- START MAIN CONTENT AREA -->
<tr>
  <td class="wrapper" style="font-family: sans-serif; font-size: 14px; vertical-align: top; box-sizing: border-box; padding: 20px;" valign="top">
  {{ content }}
  </td>
</tr>
<!-- END MAIN CONTENT AREA -->
Then add the unsubscribe url to the unsubscribe link.
Don't like these emails? <a href="{{ unsubscribe_url }}" style="text-decoration: underline; color: #999999; font-size: 12px; text-align: center;">Unsubscribe</a>
Add premailer ignore attributes to media queries
We want most of our CSS to be automatically inlined for us, but some of it we want to remain in place for email clients that support it e.g. media queries.
Intercom uses Premailer to inline CSS for you before sending it. You can tell Intercom to ignore certain CSS by adding data-premailer="ignore".
<style media="all" type="text/css" data-premailer="ignore">
  @media only screen and (max-width: 620px) {
    .span-2,
    .span-3 {
      max-width: none !important;
      width: 100% !important;
    }
    .span-2 > table,
    .span-3 > table {
      max-width: 100% !important;
      width: 100% !important;
    }
  }
</style>
Update button styles
Intercom adds the class .intercom-h2b-button to each of its buttons. Therefore you’ll want to include styles for these in your CSS. Take the .button styles from main.css and add them to the template i.e.
<style type="text/css">
  .intercom-h2b-button {
    background-color: #3498db;
    border-color: #3498db;
    border-radius: 5px;
    box-sizing: border-box;
    color: #ffffff;
    cursor: pointer;
    display: inline-block;
    font-size: 14px;
    font-weight: bold;
    margin: 0;
    padding: 12px 25px;
    text-decoration: none;
    text-transform: capitalize;
  }
</style>
Remove preheader text
Intercom doesn’t currently have a feature for supporting preheader text, so your safest to remove this so you don’t forget about it i.e. remove this HTML from your template
<span class="preheader" style="color: transparent; display: none; height: 0; max-height: 0; max-width: 0; opacity: 0; overflow: hidden; mso-hide: all; visibility: hidden; width: 0;">This is preheader text. Some clients will show this text as a preview.</span>
Using images
If you’re using images in the template, like your company logo or the social icons, you should upload these to Imgur or CloudApp. Images that are part of your content you’ll be able to upload when creating your message.
Start sending
That should be you ready to go. When you create an auto message or a direct message, you can select your template and use it. Then add basic formatting when creating your content.

Further reading
Other email service template tutorials
Receive email design content like this to your inbox.
No spam. Just related email content.


